Holograms have long been a staple of science fiction, but in recent years, they’ve become more of a reality than ever before. Thanks to advances in technology, it’s now possible to create holograms using everyday materials like plexiglass. In this blog post, I’ll walk you through the steps to create your own hologram viewer using plexiglass.
Materials Needed:
- Plexiglass sheet or Transparent CD Case
- Ruler
- Pen
- Scissors or utility knife
- Tape
- Smartphone or tablet
- Hologram video
Step 1: Measure and Cut Your Plexiglass Sheet
The first step in creating your hologram viewer is to measure and cut your plexiglass sheet.
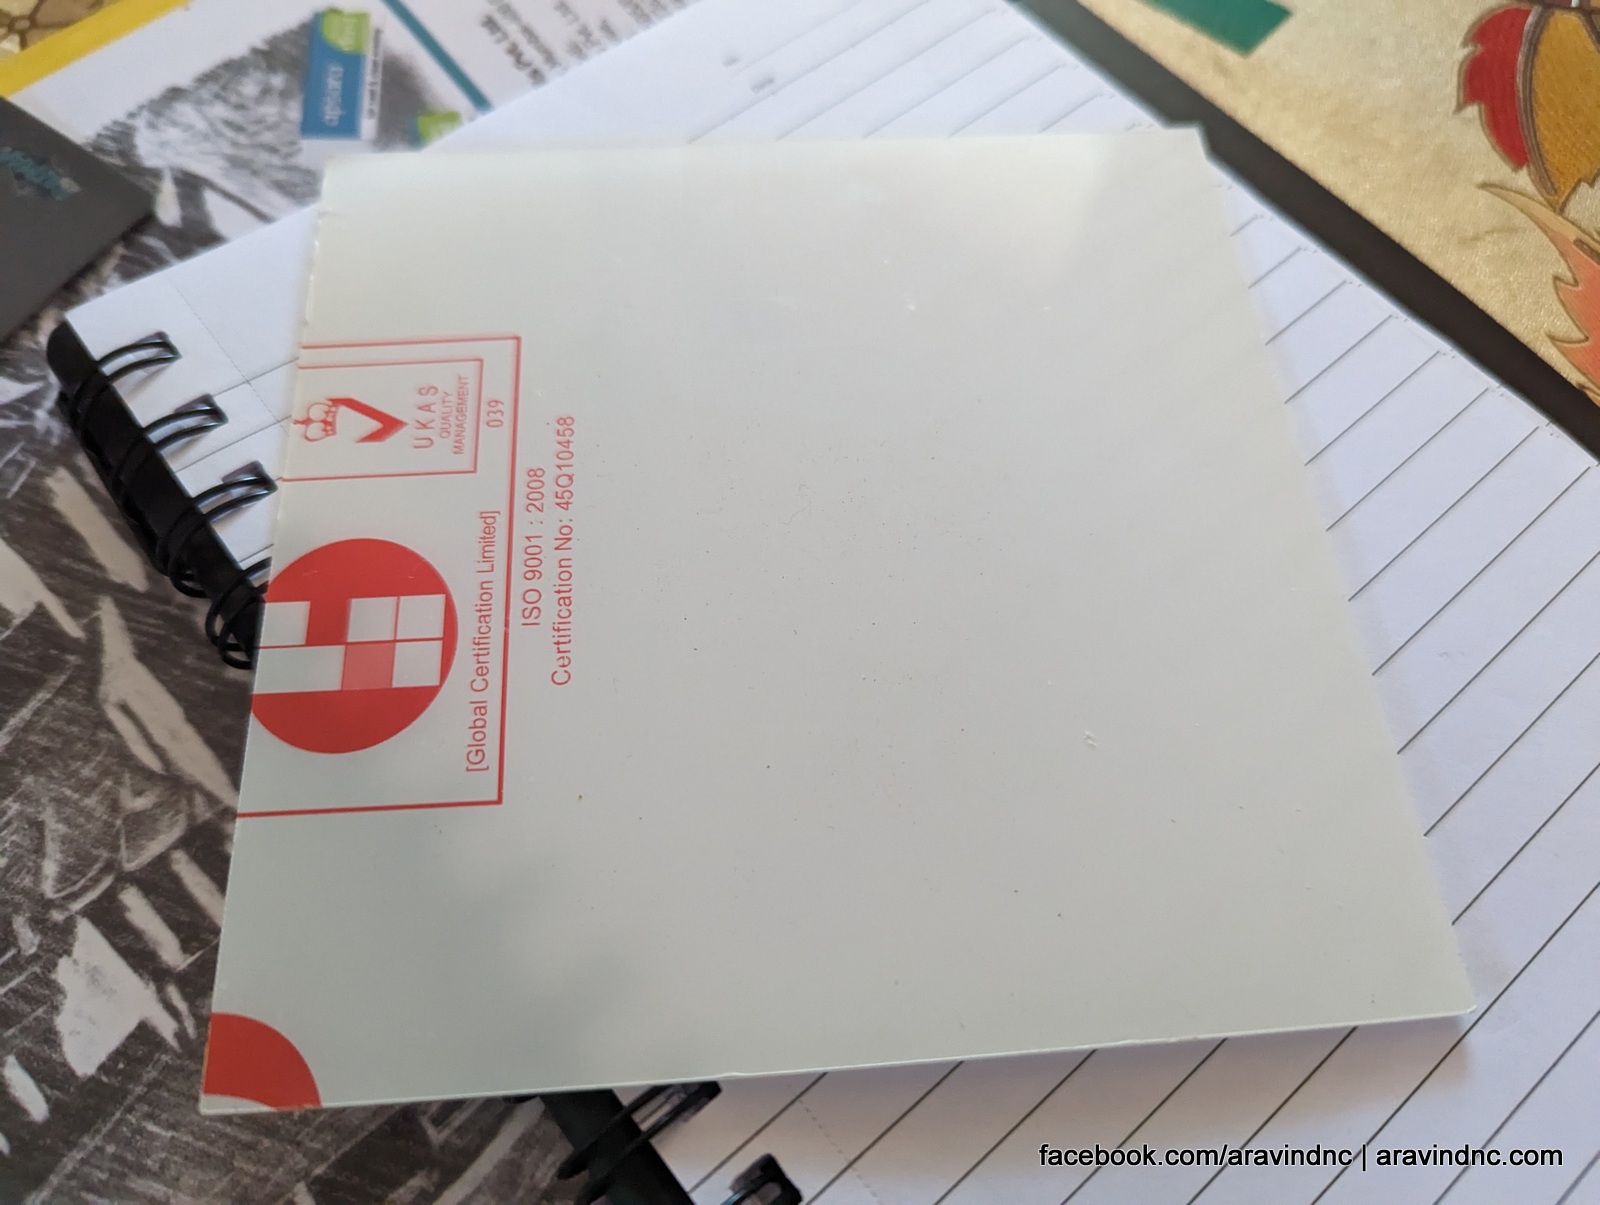 (Plexi Glass, you can use CD case also)
Using a ruler and a pen, measure out a square that is 15cm x 15cm. Once you have your square marked out, use scissors or a utility knife to carefully cut along the lines.
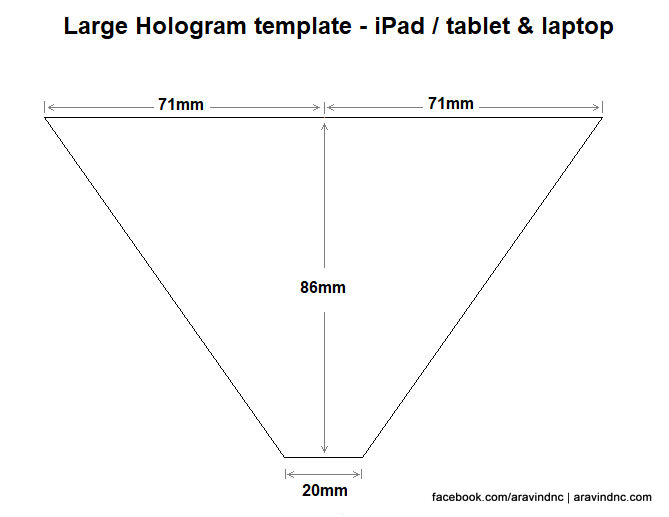
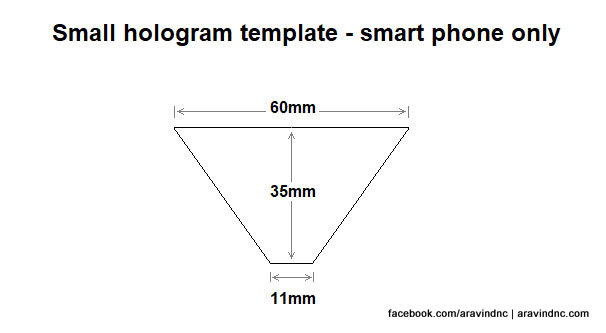
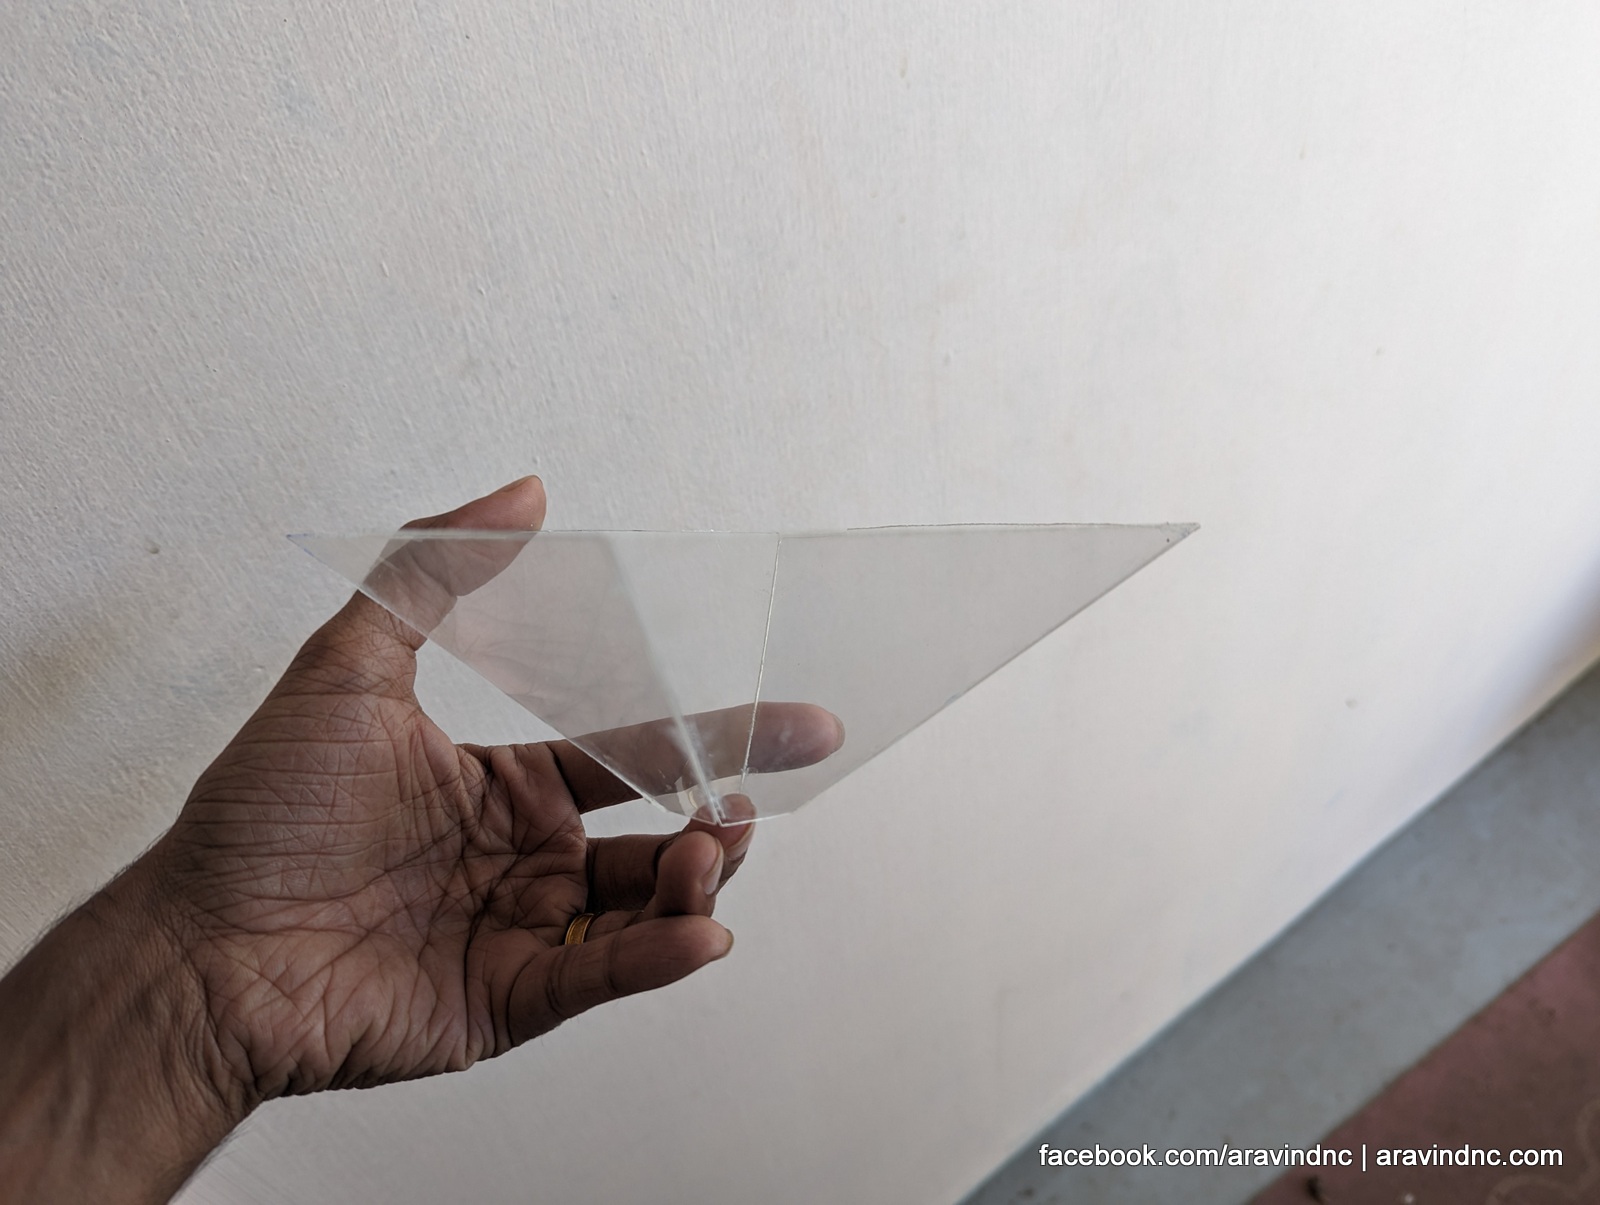
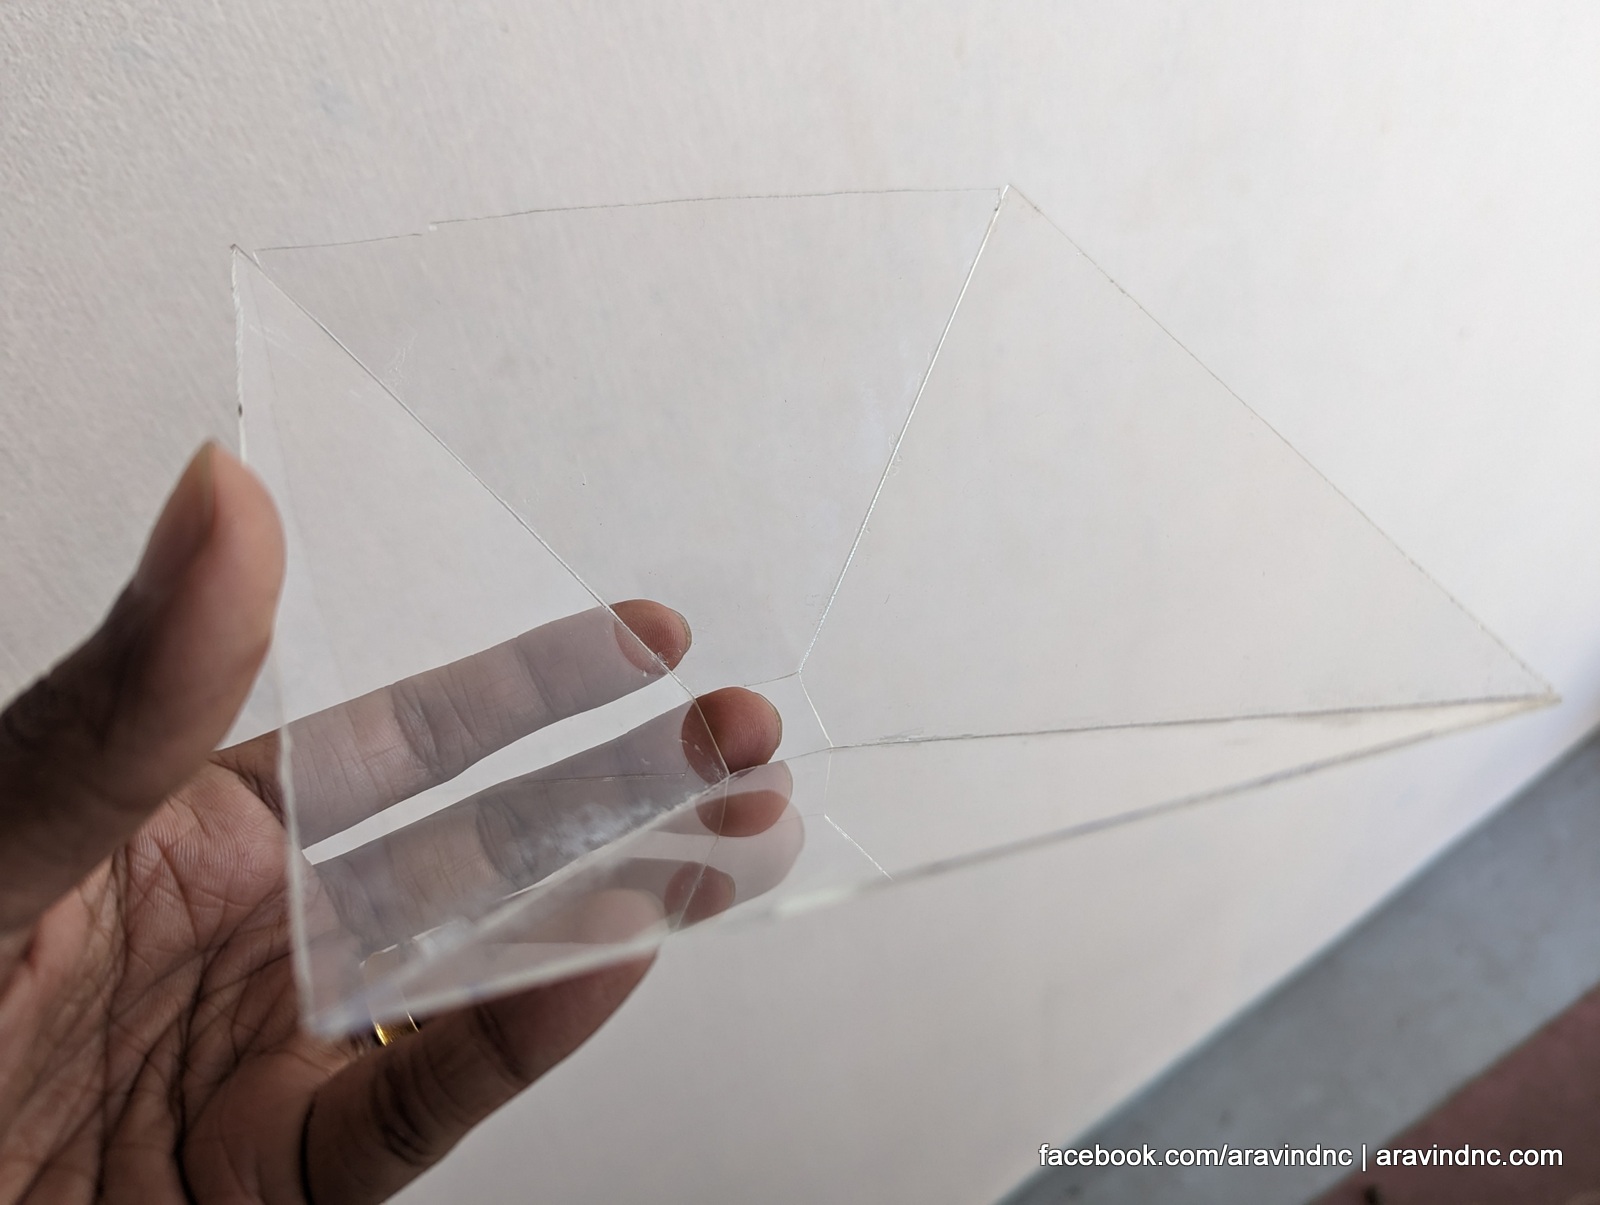
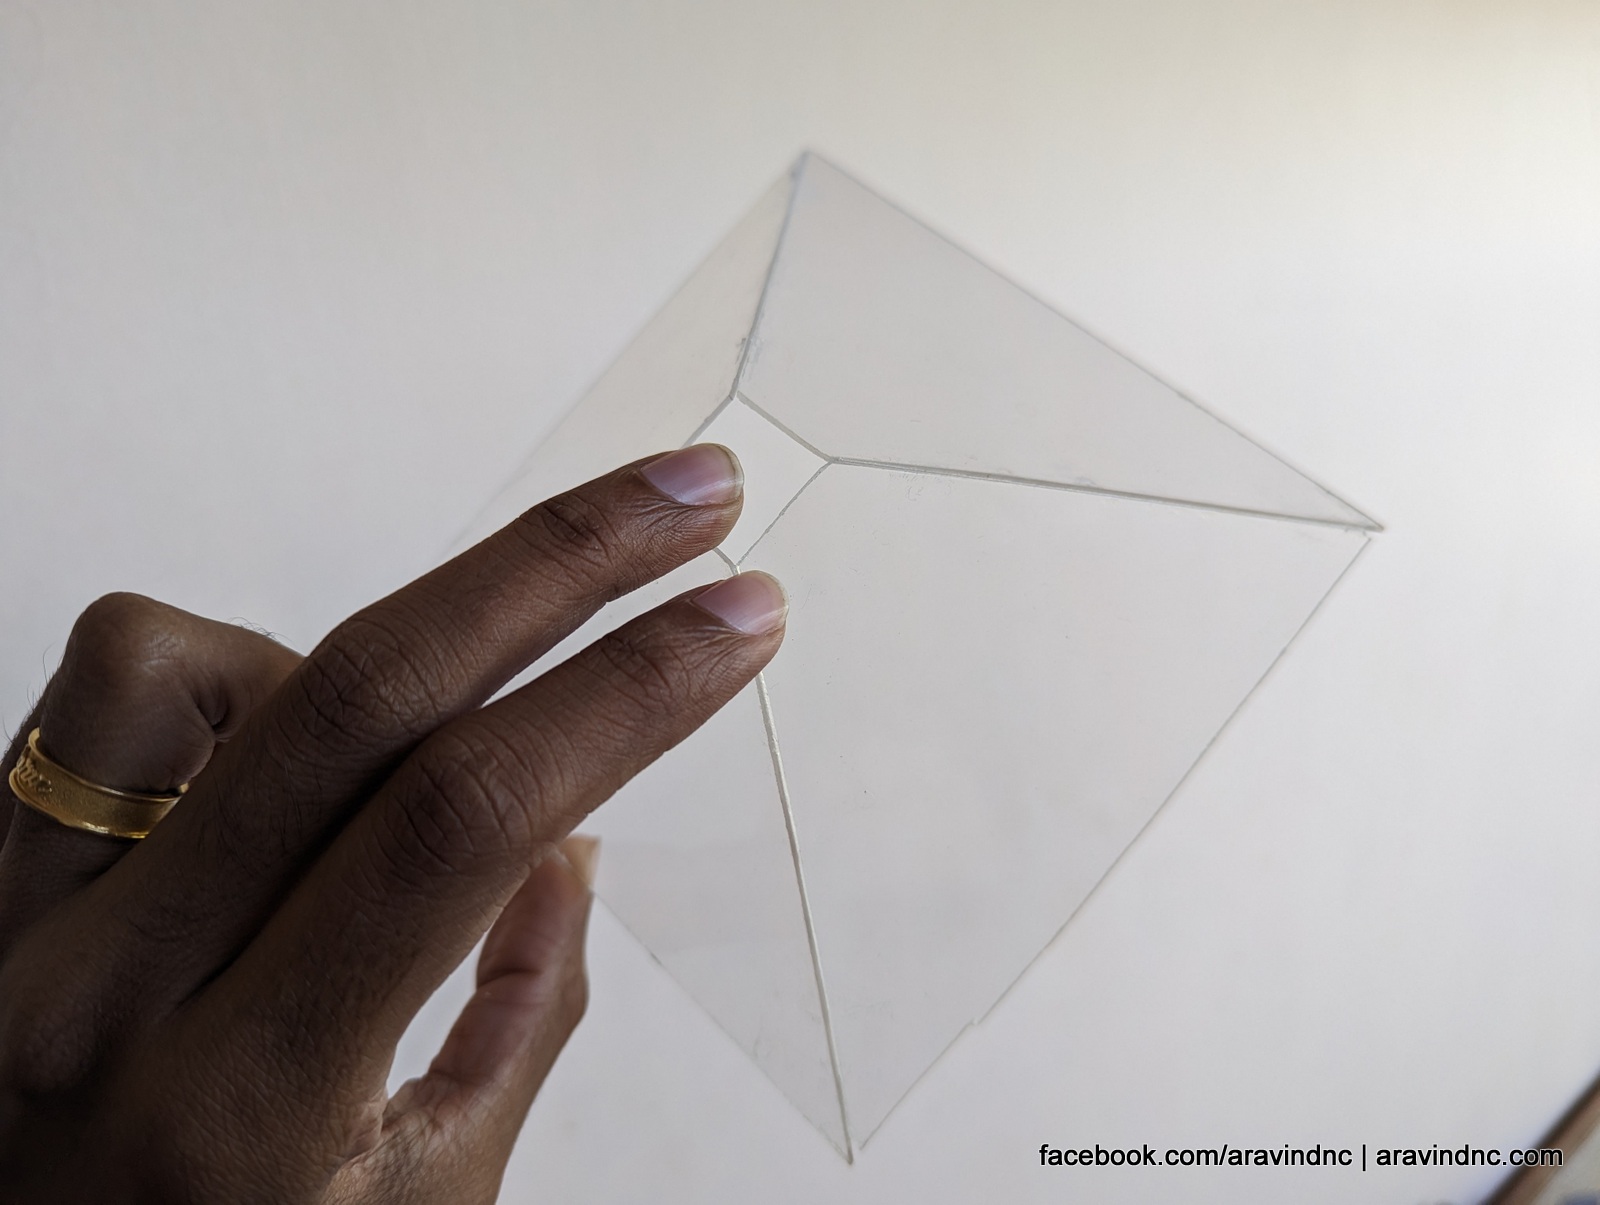
Step 2: Create Your Pyramid Shape
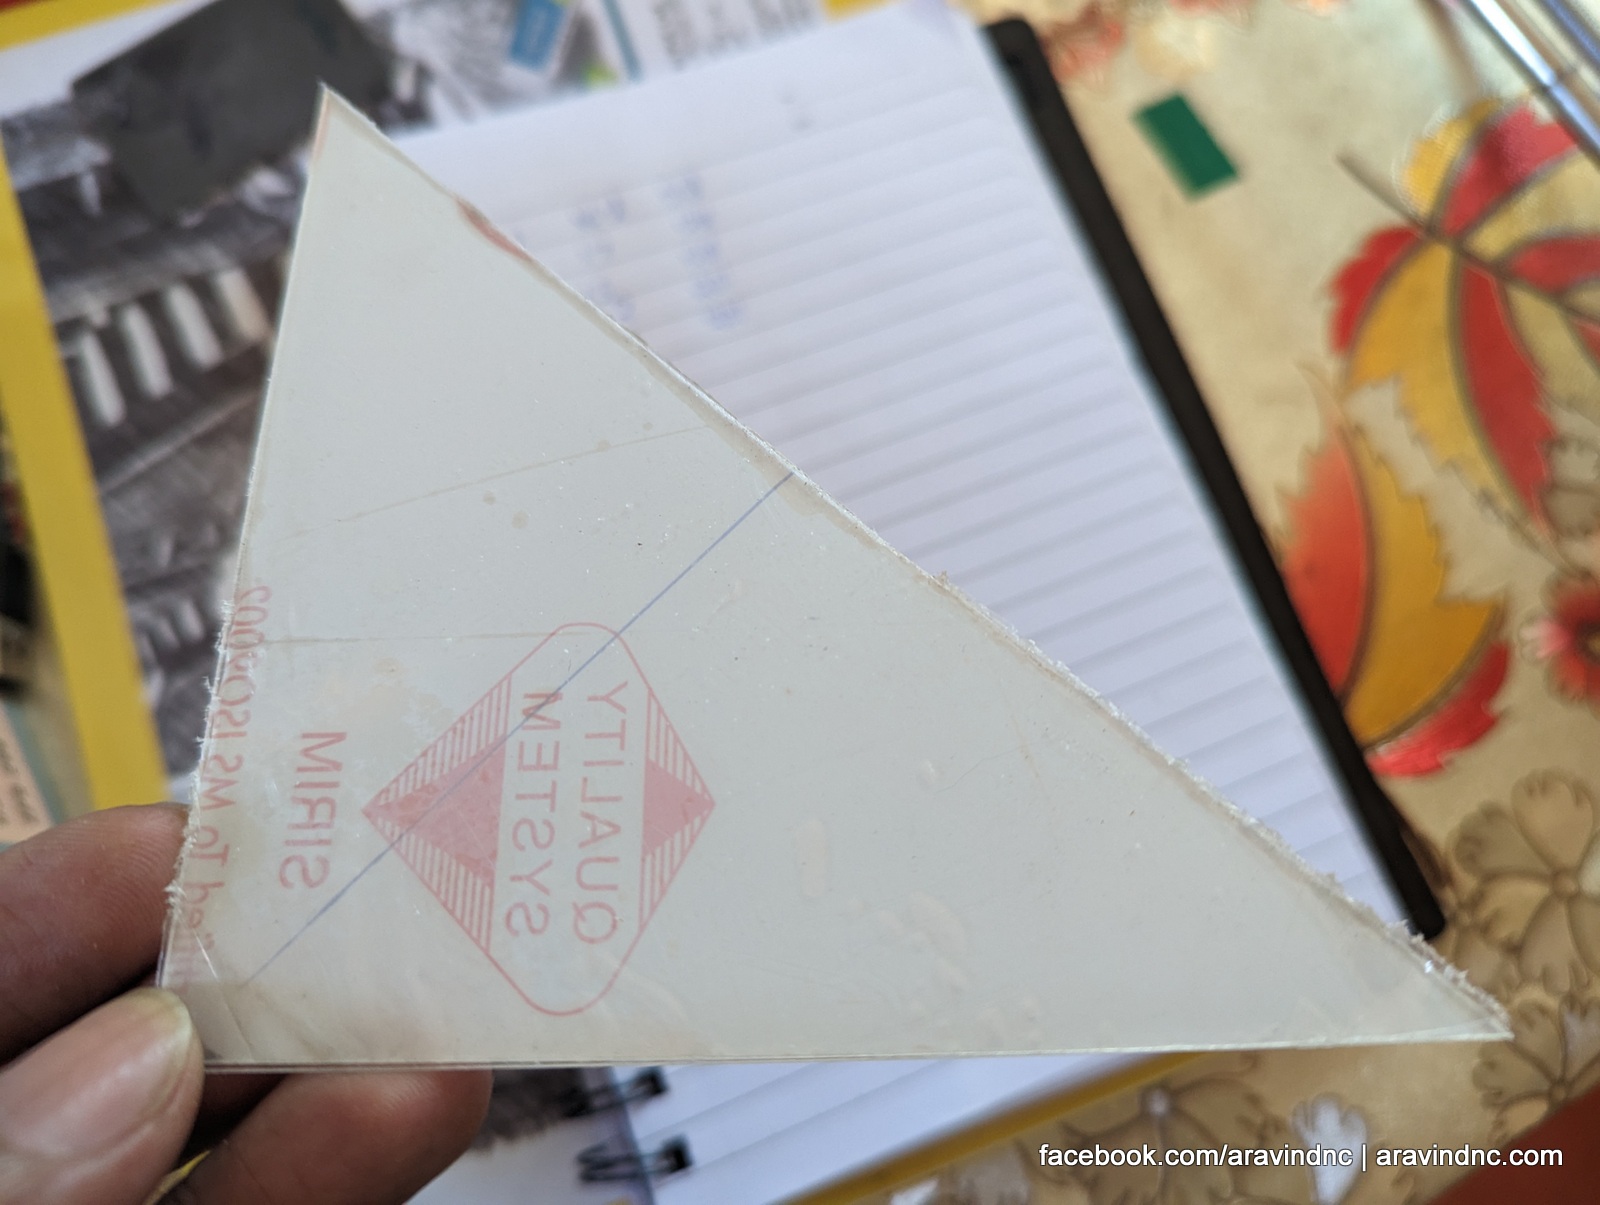
After you have your plexiglass square, the next step is to create your pyramid shape. To do this, take your cut plexiglass square and fold it into a triangle, making sure the edges are aligned perfectly. You should now have a pyramid-shaped piece of plexiglass.
Step 3: Prepare Your Smartphone or Tablet
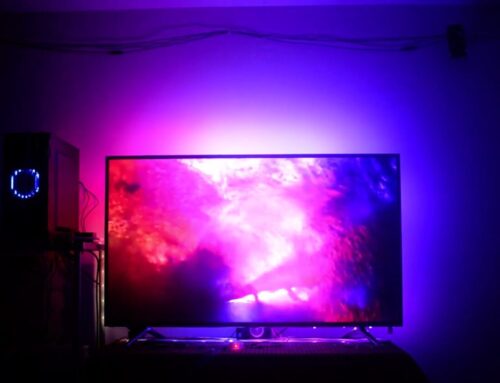
To create a hologram, you’ll need a video that’s specifically designed for hologram viewing. There are many hologram videos available on YouTube that you can use for this purpose. Once you have your video, play it on your smartphone or tablet and turn the brightness up to maximum.
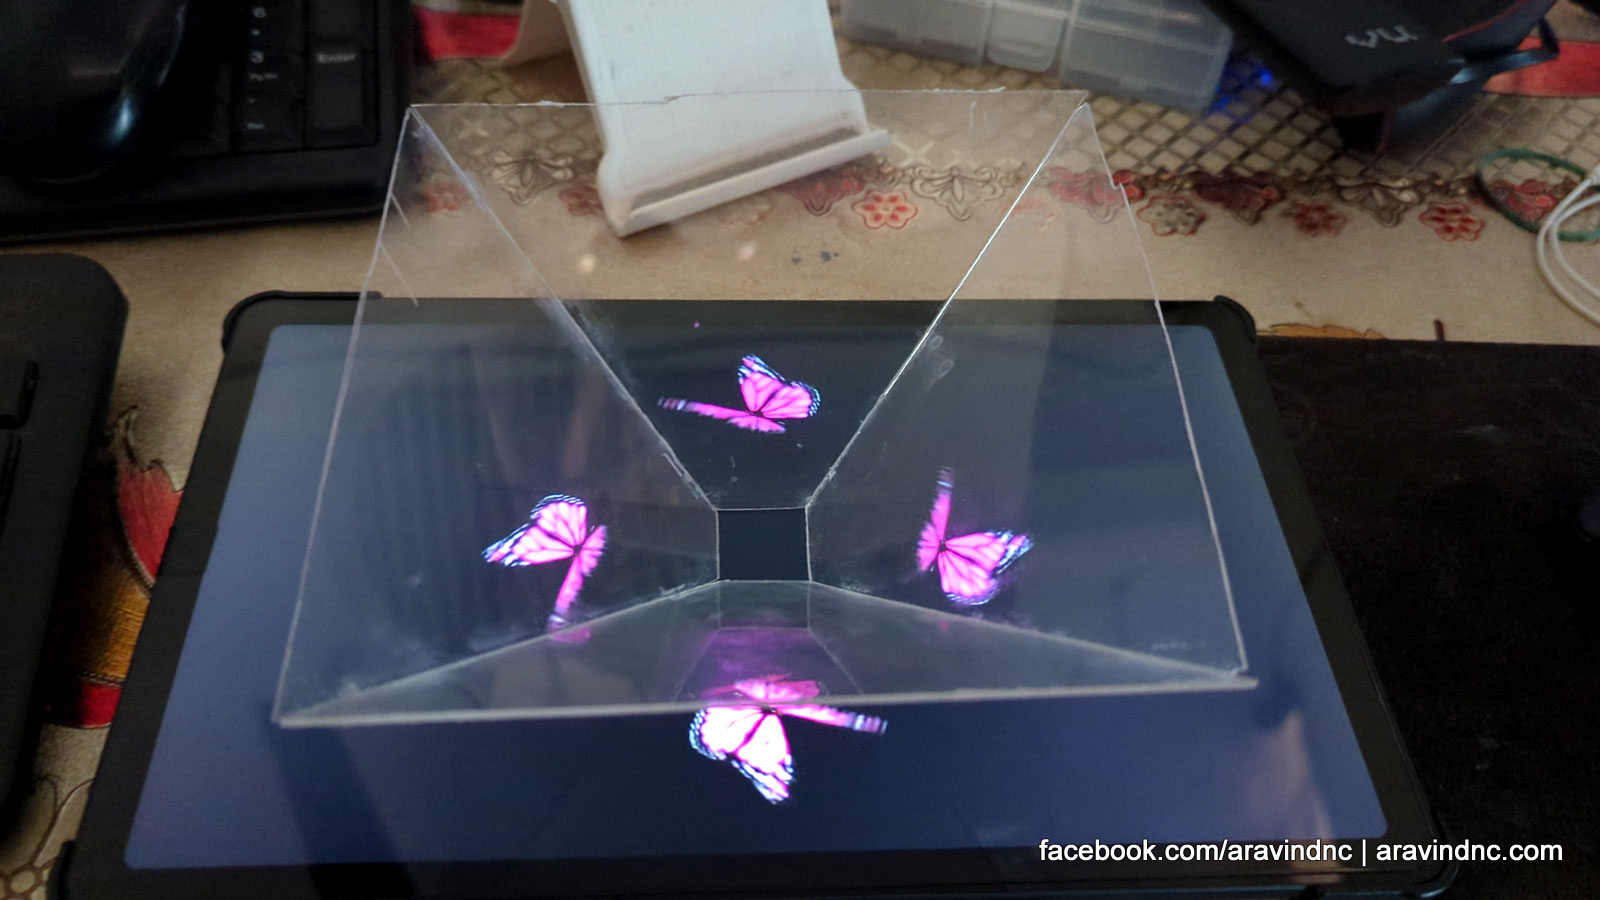
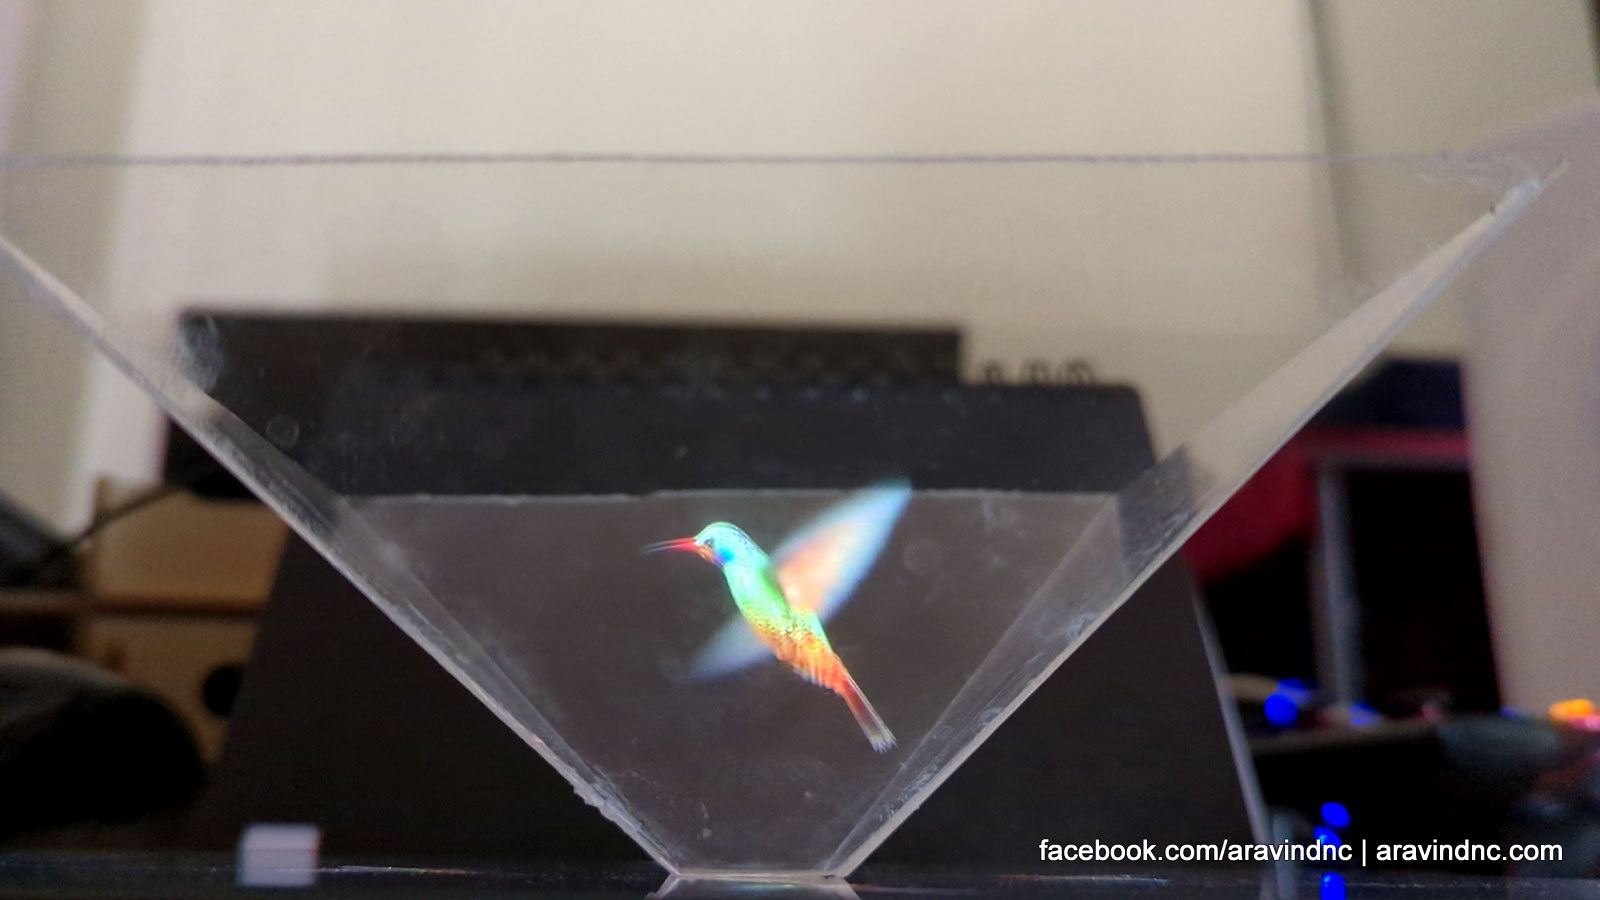
Step 4: Place Your Pyramid Over the Video
With your hologram video playing on your smartphone or tablet, place your plexiglass pyramid over the device. Make sure the pyramid is centered over the screen and that the edges of the pyramid are aligned with the edges of the device.
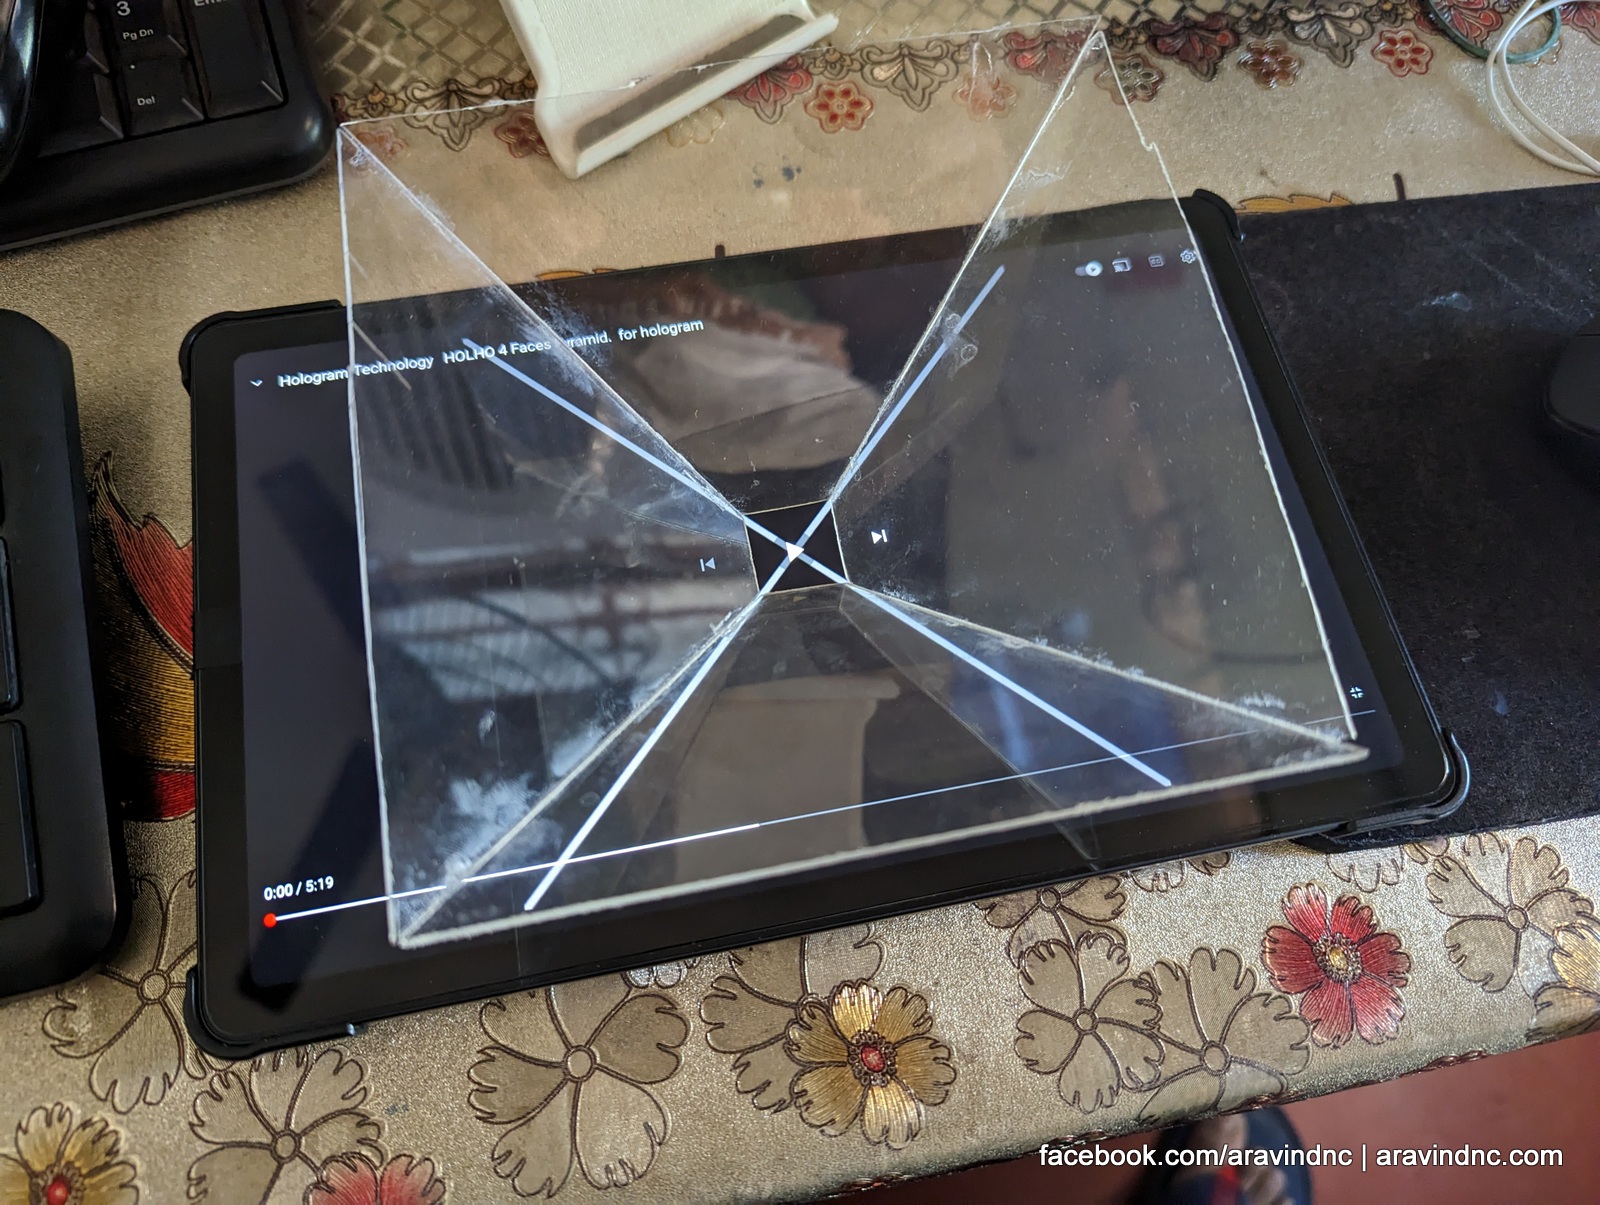
Step 5: Enjoy Your Hologram
With your pyramid in place, you should now be able to see the hologram floating above your device. Move around the viewer to see the hologram from different angles and enjoy the 3D effect.
Here is the working video,
How it works ?
The hologram works based on the principle Pepper’s Ghost.
Pepper’s ghost is a type of holographic illusion that has been used in theaters and other entertainment venues for over a century. The illusion is created by reflecting an image onto a transparent surface, such as a piece of glass or plastic, and then illuminating it from below or behind.
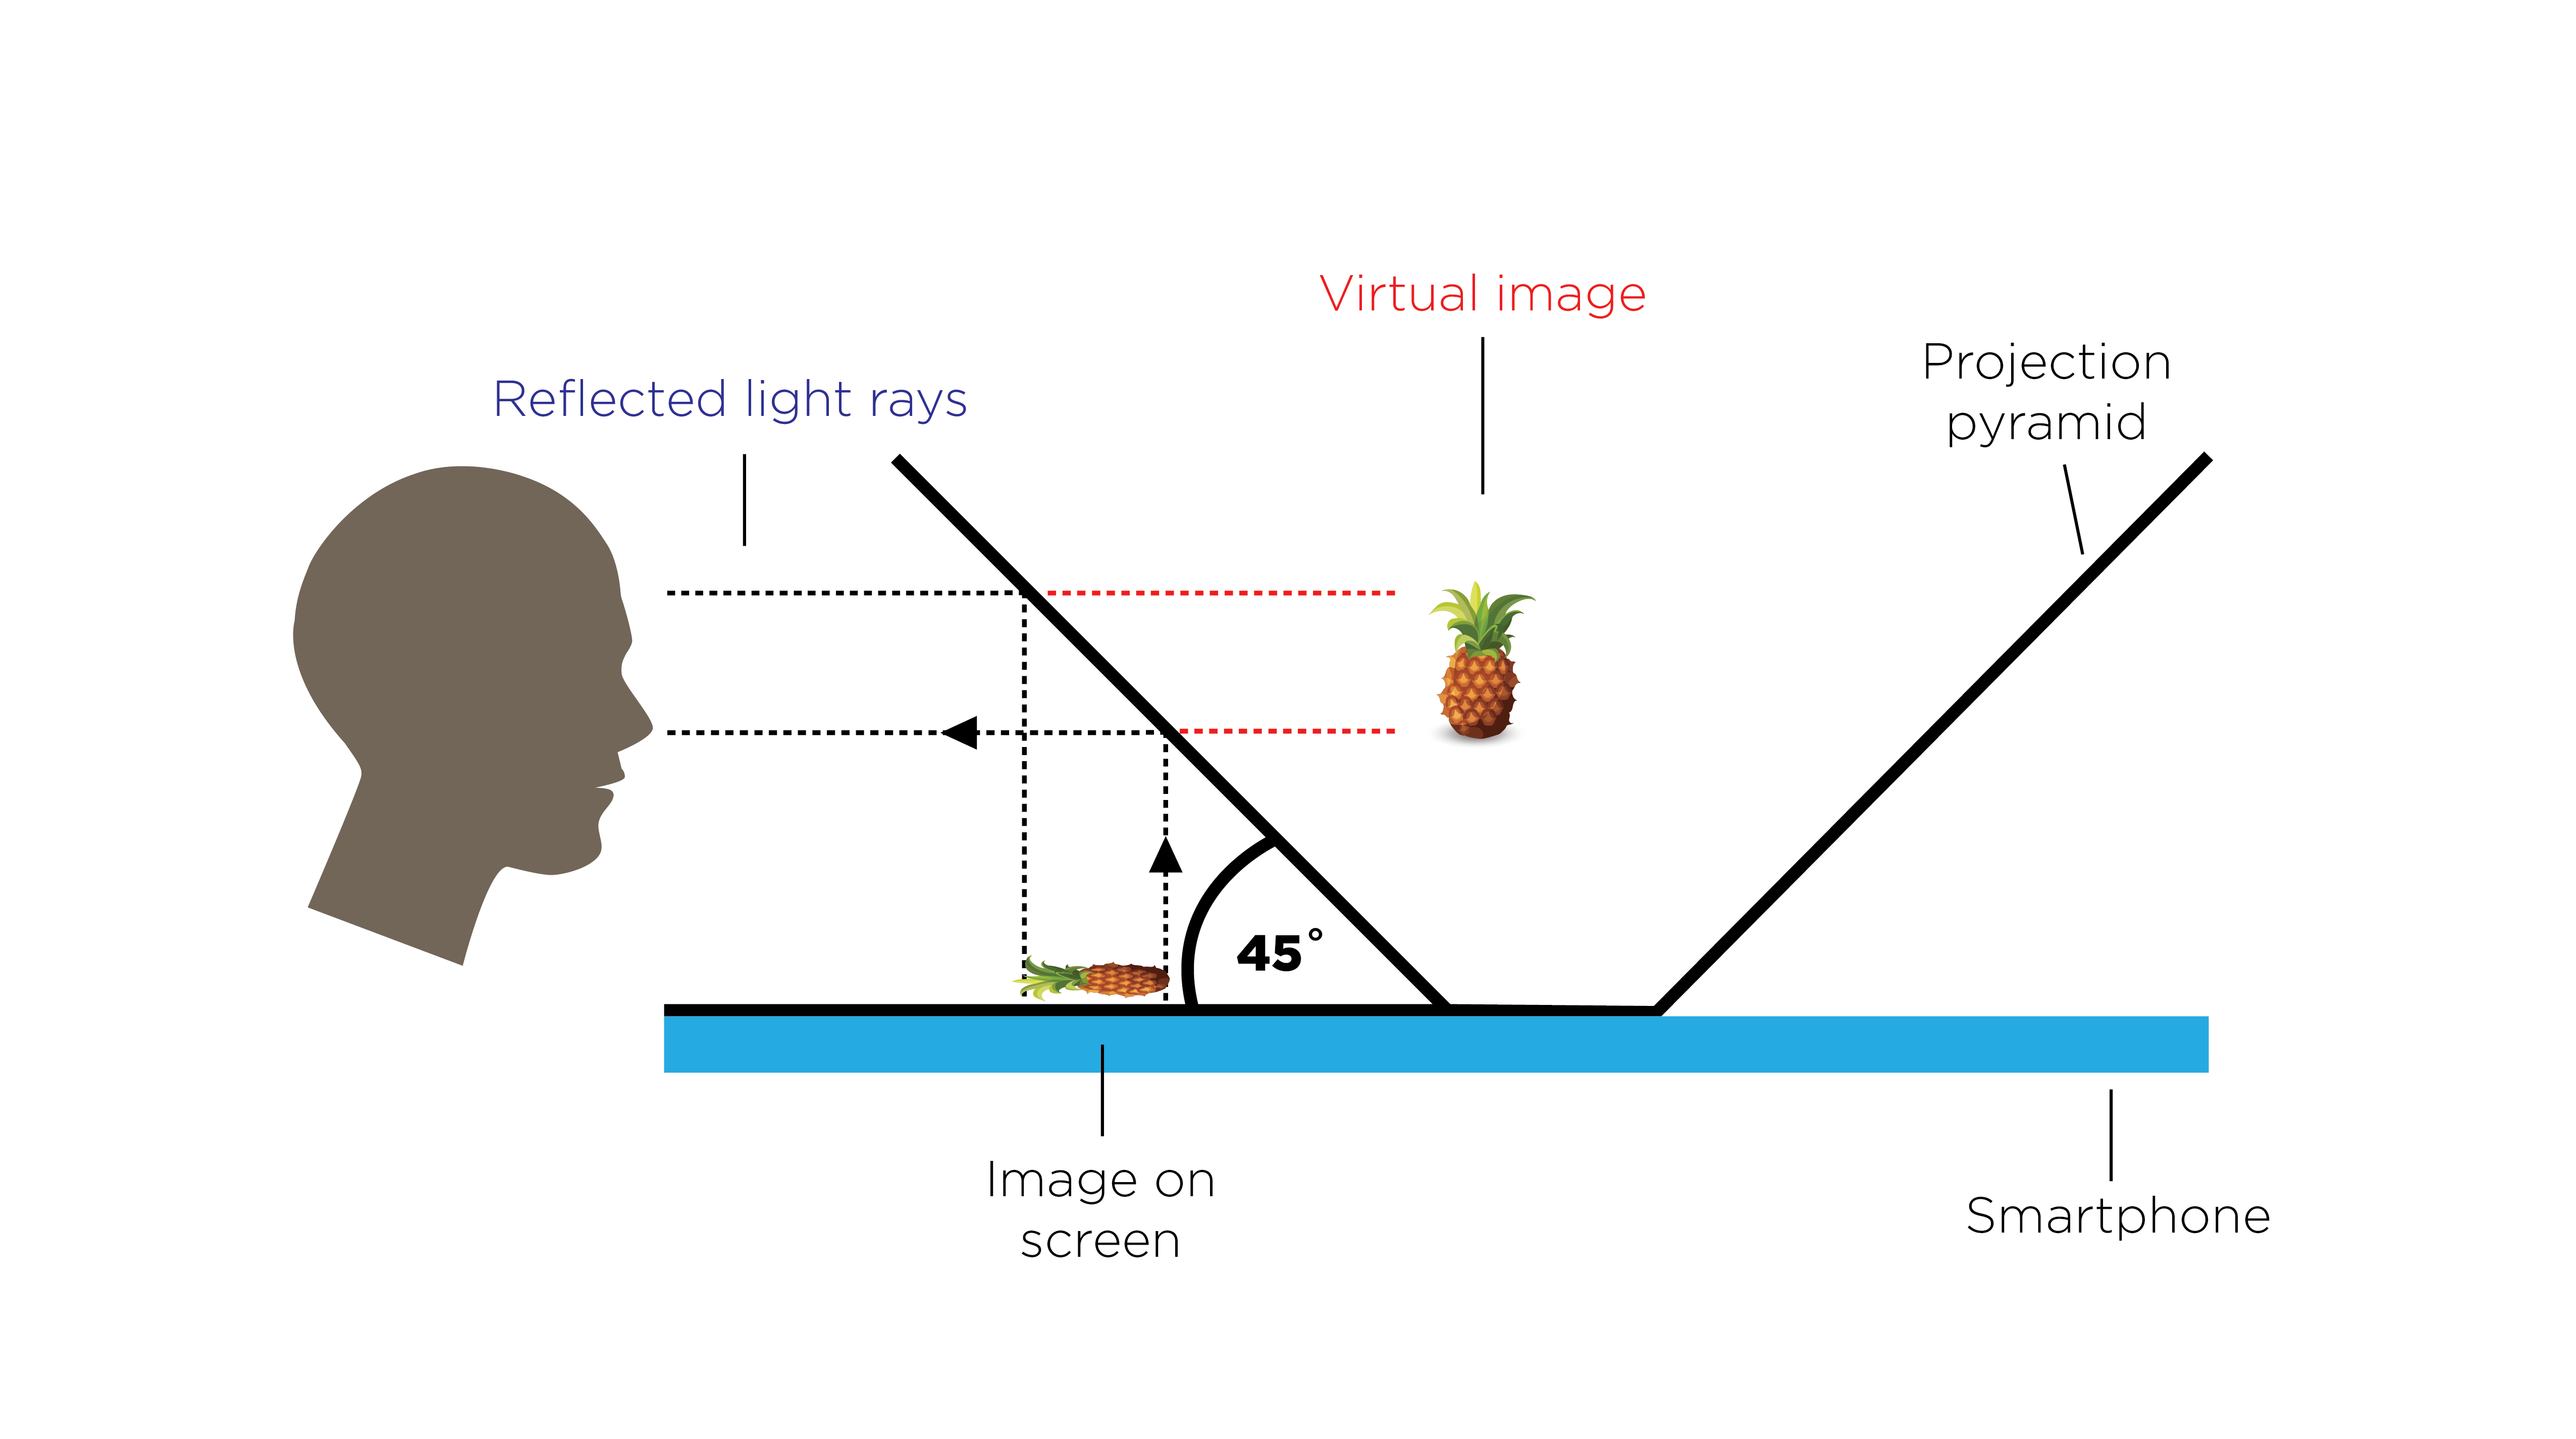
Here’s a simplified explanation of how the Pepper’s ghost illusion works:
- An image or object is placed in a hidden area, such as below the stage, and is lit with bright lights.
- A large sheet of clear plastic or glass is set up at a 45-degree angle between the hidden area and the audience.
- The audience sees the reflection of the image or object in the sheet of plastic or glass, creating the illusion that the image or object is on stage or floating in mid-air.
- By carefully controlling the lighting and angles of the reflection, it’s possible to create the illusion of movement and even interaction between the holographic object and real-world objects on stage.
Pepper’s ghost is often used in modern hologram displays, such as those used in concerts, museums, and other events. These displays use a combination of computer-generated imagery and projection techniques to create more complex and realistic holographic images.
Conclusion:
Creating a hologram viewer using plexiglass is a fun and easy project that anyone can do. With just a few simple materials and some basic tools, you can create a stunning hologram that will amaze and entertain your friends and family. So why not give it a try and see what kind of holograms you can create?


Leave A Comment
You must be logged in to post a comment.