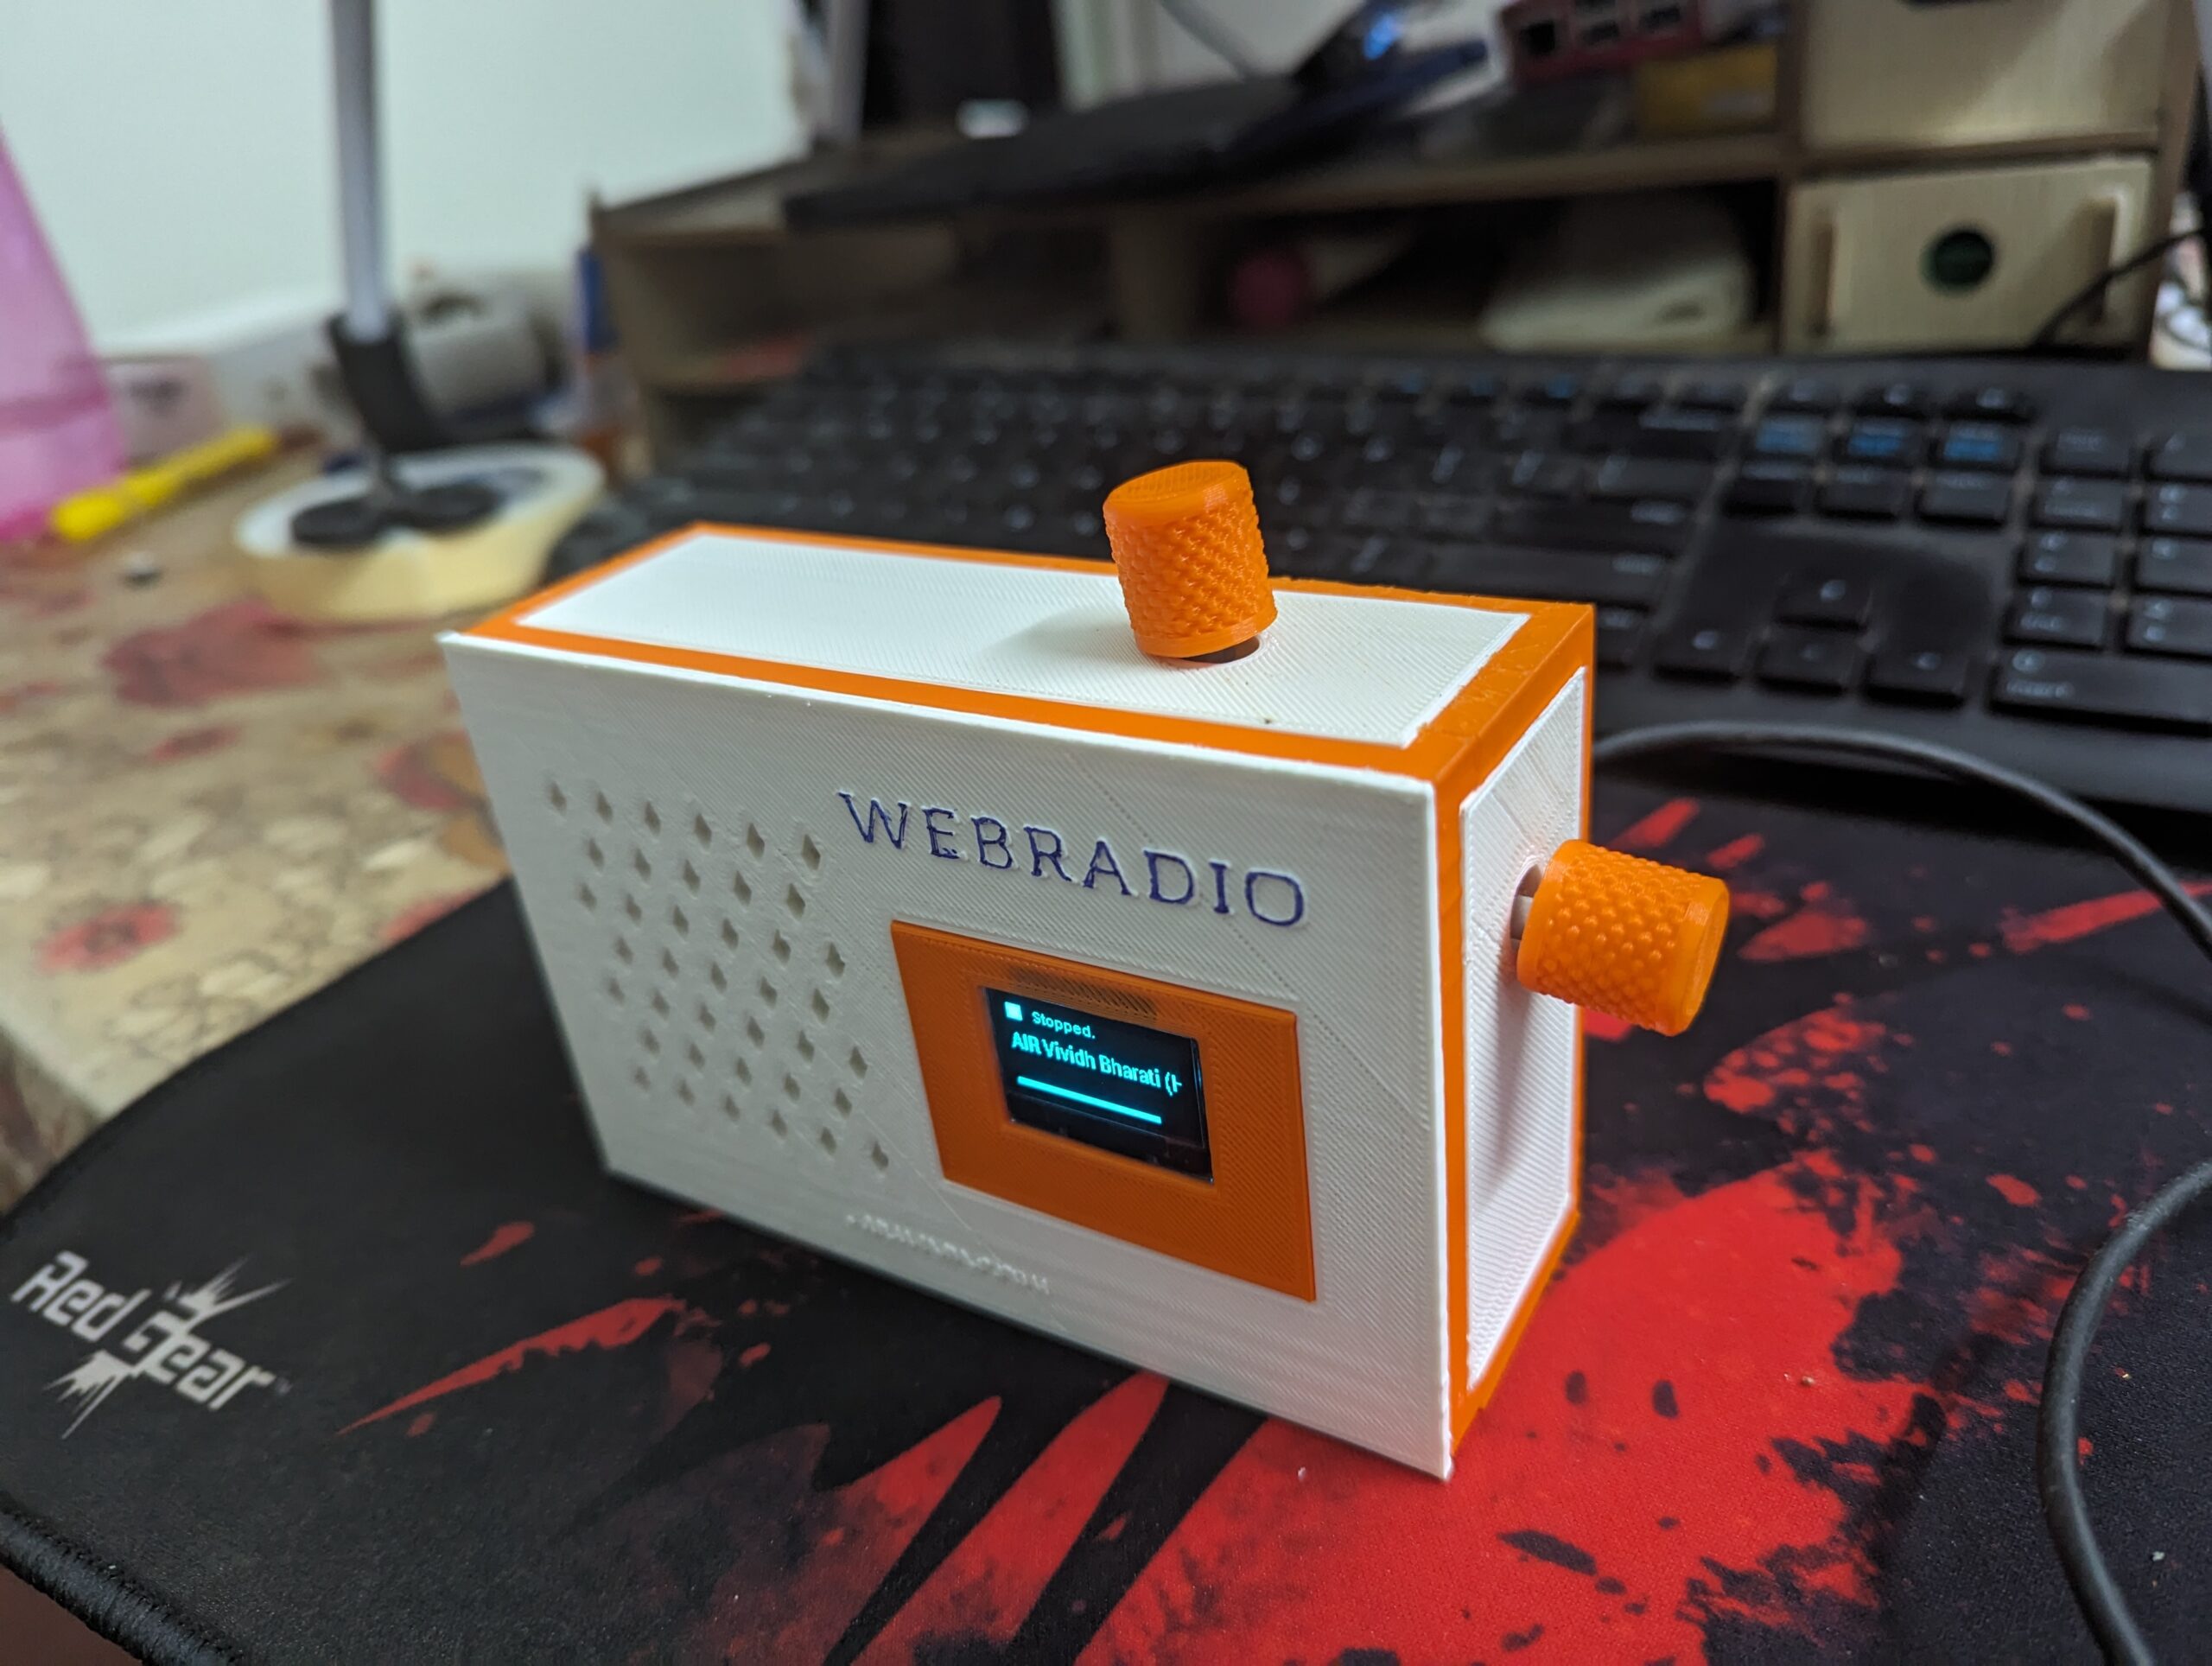
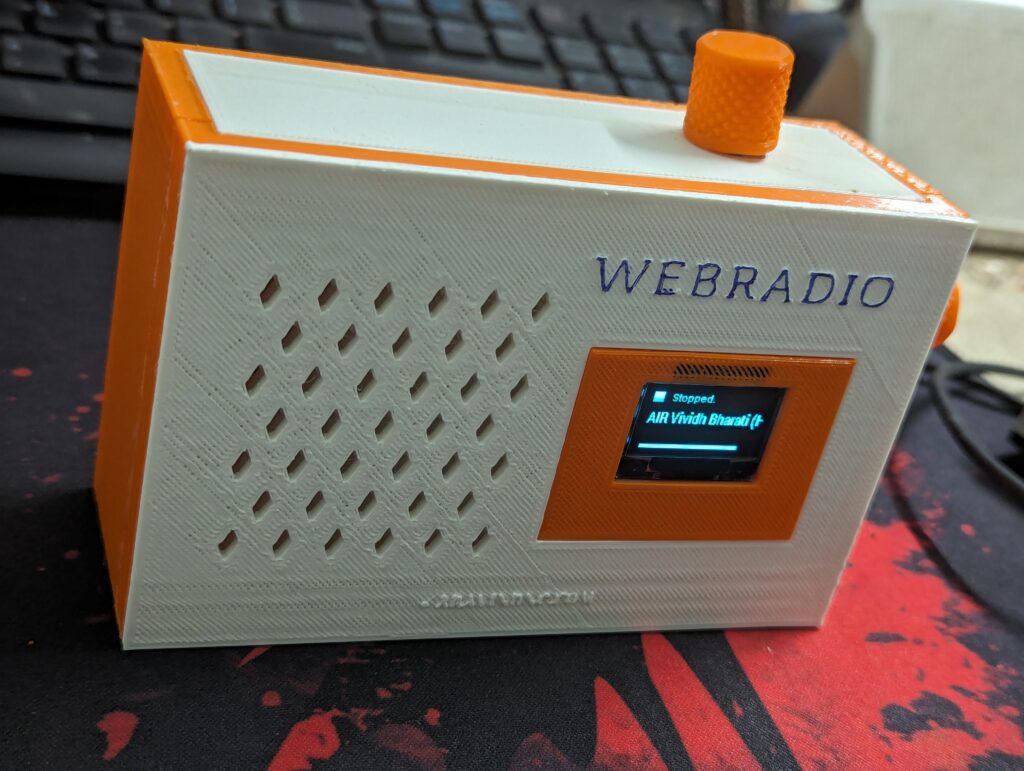
Embarking on the journey to build a personalized Internet radio using Raspberry Pi was a thrilling adventure that seamlessly blended creativity and technology. In this blog, I’ll take you through the step-by-step process of how I transformed a Raspberry Pi Zero W into a sophisticated Internet radio, complete with a 3D-printed enclosure, an OLED display for real-time feedback, and an audio system that delivers a symphony of sound.
Gathering the Orchestra: Components and Tools
Before diving into the coding and assembly, it was crucial to gather all the components and tools for the project. The key players included:
1. Raspberry Pi Zero W: The heart of the system, providing the computing power and wireless connectivity needed to stream online radio.
2. 3D-Printed Enclosure: A customized housing designed to snugly fit the Raspberry Pi and other components, adding a personal touch to the project.
3. OLED Display: A compact yet powerful visual interface to display station names, volume levels, and playback status in real-time.
4. Rotary Encoder Knobs: Two rotary knobs, one for channel switching and the other for volume control, offering an intuitive and tactile user interface.
5. Audio Components: A low-pass circuit to eliminate unwanted noise, a Class D amplifier to boost audio signals, and a high-quality speaker for immersive sound.
Act 1: Setting Up the Raspberry Pi
Connecting to Wi-Fi
The Raspberry Pi Zero W’s wireless capabilities made connecting to the internet a breeze. After configuring the Wi-Fi settings, the Pi was ready to explore the vast world of online radio stations.
Python Scripting: The Brain of the Operation
Python, being the language of choice, played a pivotal role in fetching and managing the online playlists. I crafted a Python script that dynamically loads station from my private playlist via web, allowing for an ever-expanding repertoire of music.
Act 2: Visual Symphony with OLED Display
The OLED display was integrated to provide a visual dimension to the Internet radio. Through Python coding, the display was synchronized to showcase essential information such as the station name, volume level, and playback status. This real-time feedback enhanced the user experience, making the radio more interactive and engaging.
Act 3: Tuning In with Rotary Encoder Knobs
The rotary encoder knobs were the user’s gateway to the radio’s functionality. Python code mapped each knob’s functionality, enabling smooth and intuitive channel switching and volume adjustments. The tactile feedback from the knobs added a sense of analog control to the digital realm.
Act 4: Crafting the Sonic Landscape
Filtering Unwanted Noise: Low-Pass Circuit
To ensure a clean and crisp audio output, a low-pass circuit was incorporated into the system. This circuit effectively filtered out high-frequency noise, providing a smooth and enjoyable listening experience.
Amplifying the Experience: Class D Amplifier
The audio journey continued with a Class D amplifier, boosting the signals and delivering a powerful yet efficient audio output. This component played a crucial role in maintaining high audio quality while keeping power consumption in check.
Resonance in Sound: Quality Speaker
A carefully selected high-quality speaker rounded off the audio ensemble. Teamed up with the Class D amplifier, it faithfully reproduced the nuances of various musical genres, creating an immersive sonic experience.
Grand Finale: 3D-Printed Enclosure
The final act involved bringing the entire ensemble together in a 3D-printed enclosure. Custom-designed to accommodate the Raspberry Pi, display, knobs, and audio components, the enclosure not only provided protection but also added a personalized aesthetic to the Internet radio.
Conclusion: A Symphony of DIY Excellence
Building an Internet radio with Raspberry Pi, 3D printing, and Python coding was a gratifying experience that showcased the limitless possibilities of combining technology with creativity. From the initial setup of the Raspberry Pi to the visual feedback on the OLED display, the tactile interaction with rotary encoder knobs, and the immersive audio experience – each step contributed to a harmonious blend of form and function.
This project serves as an invitation to fellow enthusiasts to explore the world of DIY electronics. With a Raspberry Pi as your conductor, the symphony of possibilities is at your fingertips. Tune into the realm of creativity, innovation, and DIY excellence, and start composing your own technological masterpiece. The stage is set – let the show begin!


Leave A Comment
You must be logged in to post a comment.